FPGA designs are becoming very complex for many FPGA developers. One thing that often causes issues during integration of IP and proprietary blocks is that of resets and clocks. In this blog we will look at resets and how they are used varies from device to device.
Starting with the basics, we use reset to drive all the registers within a design to a known state at power on or whenever it is commanded during normal operation. This ensures all registers are in a known state and operation of the device will be as expected and simulated. Reset therefore prevents FSMs from starting off in states mid-way through the flow due to the random power on register states.
However, not all FPGA technologies recommend the use of resets. For example, SRAM based FPGAs typically have a global set/reset which is applied as part of the configuration sequence. This has several benefits for the developer as it significantly reduces the number of control signals which are in the design, enabling a better quality of implementation. It also provides the implementation tool more choice in which resources are used, e.g. D vs SRL. Of course, not all of the design may be reset free in a SRAM based FPGA. However, typically the reset will be limited to the control path.
If, however, we are targeting a FLASH based or One Time Programmable FPGA or have hopes to migrate to an ASIC if volume is achieved then, a reset is definitely required for all of the registers in a device.
For all types of FPGAs, the debate will then become if the resets should be asynchronous or synchronous. This will depend upon the architecture of the device itself. You may also find that some element can only accept one reset type, for example DSP elements.
When it comes to creating FPGA code which is portable between all device technologies, something all engineers should be striving for to reduce non-recurring expense, ensuring the RTL can be configured either way via generics or parameters is of importance.
This can be achieved using constants, generics or parameters depending upon which language you use to develop your FPGA. An example VHDL implementation would appear as follows:
if set_asynch_rst and rst = set_rst_pol then
q <= '0'; -- asynchronous reset configuration
elsif rising_edge(clk) then
if not set_asynch_rst and rst = set_rst_pol then
q <= '0'; -- synchronous reset configuration
else
q <= d ; -- functional operation
end if;
end if;
This allows the developer to specify either no reset, asynchronous, or synchronous reset styles, along with the reset level. This give maximum flexibility to the developer as to which technology is targeted. With higher level tools like HLS we also get the ability to control the reset type.
However, with flexibility around this reset strategy comes the potential impact of getting it wrong, e.g., a misbehaving design from an un-reset register or failing timing from an unnecessary reset. It is important to be able to check all of the reset conditions:
- 1. Registers are reset
- 2. Registers are applied synchronous reset
- 3. Registers are applied asynchronous reset
Here is where Blue Pearl’s Visual Verification Suite can be of assistance, with its ability to analyse the reset structure and report on the reset configuration of the design as currently configured.
Blue Pearl Software’s Visual Verification Suite can report on a range of reset configurations combined with define scenarios of parameters / generics to ensure the reset structure is as required for the design.
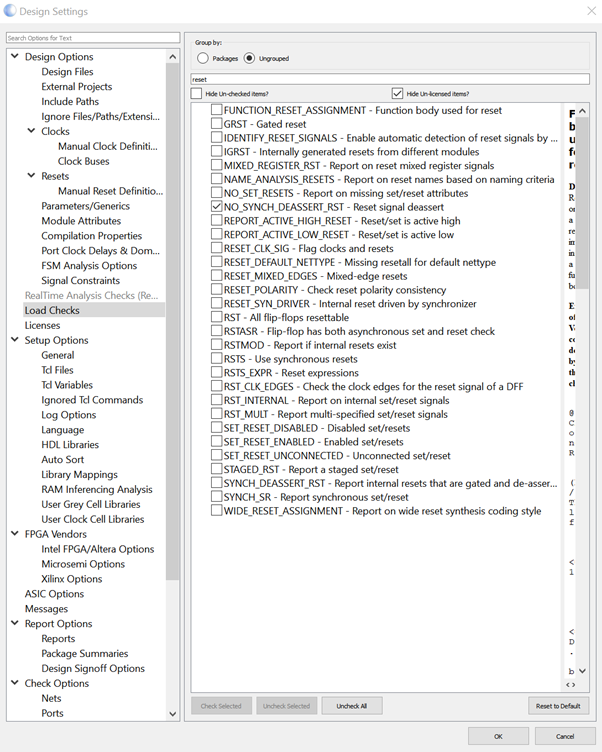
The suite will also report on the reset level, providing peace of mind so that the design does not have mixed reset levels, which again would impact the design performance and lead to long debugging sessions.
Applying the right reset strategy for your design can increase performance and ensure your design is not going to behave incorrectly following power on. The Visual Verification Suite can aid you in verifying you have implemented the correct reset structure for your target design quickly and easily, enabling you to go into implementation with peace of mind, on this issue among others!
To learn more about the Visual Verification suite or to discuss how you can integrate it inside your revision control system, please request a demonstration.